GLITCH ART VISUALIZATION
TECHNIK
Remember, I love you more than your parents do.
They brought you up, but I'm going to show you how to glitch like a pro.

[1] Wait for something to go wrong, or force something to go wrong
if you're a busy full-time glitch professional:
> Some software goes tits-up and draws crud all over the screen. Computer
programmers often see a lot of these, due to writing shonky code.
> Load an invalid binary file into an arcade emulator and hope it
dies in an interesting way as it executes garbage code.
> Convert the raw data bytes in any file into 8-bit colours and display them
in a rectangle.

[2] Congratulations, you now have some glitch raw material. Now you need to capture
it before it decays. Some glitches have a very short half-life. The easiest way
to do this is press the [PRINT SCREEN] key on a PC, or hold down
[CMD]+[SHIFT]+[3] on a Mac. This copies the entire screen to the clipboard.
Open you favourite graphics editor, paste the picture in, and save it.

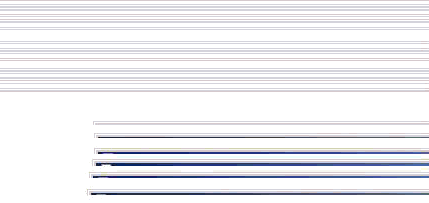
Here's one I made earlier. I was working on a bit of software
when the screen stopped redrawing properly. This image is a snapshot
of part of the screen.


[3] This is where the artistic bit comes in. You'll probably want to crop
the image to select the region of greatest interest. Then I like to
play with the colour, contrast and brightness controls until I have
something which looks aesthetically pleasing. However, I never use
any of the Photoshop filters such as Pixellate, Emboss, Despeckle, Spherize
etc. because they all alter the physical structure of the glitch raw material.
I consider this cheating! Anyhow, by altering only the colours, you can produce
many interesting variations.

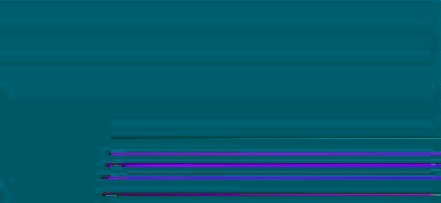
This is what I ended up with from the raw screenshot. I reckon it's much more
interesting now, and doesn't even look like a traditional computer-art picture.


[4] To display your glitch art masterpiece on the internet you'll need to
export the image as a GIF or JPEG. You might have to rescale the image
to make it small enough to fit on the screen too. Here are my thoughts
on image rescaling: By their nature, glitch images are pixellated with sharp
boundaries between colours, and this should be preserved. So, in Photoshop,
I always select the "Nearest Neighbour" resampling option in preference
to "Bilinear" or "Bicubic" interpolation. This stops edges getting smudged.
OK, so having got your image at a sensible size, I recommend exporting it
as a GIF, because this is a lossless format, and so exactly preserves the
sharp colour boundaries. Sometimes however it's impossible to get a small
enough file size from GIF, expecially with highly intricate images, and
then you'll need to export as JPEG. Export at as high a quality as possible,
to minimise JPEG compression artifacts. There are many shareware/freeware
GIF and JPEG optimisation utilities around, so I won't bother recommending
the ones I use.
GLITCH ART VISUALIZATION
 [3] This is where the artistic bit comes in. You'll probably want to crop
the image to select the region of greatest interest. Then I like to
play with the colour, contrast and brightness controls until I have
something which looks aesthetically pleasing. However, I never use
any of the Photoshop filters such as Pixellate, Emboss, Despeckle, Spherize
etc. because they all alter the physical structure of the glitch raw material.
I consider this cheating! Anyhow, by altering only the colours, you can produce
many interesting variations.
This is what I ended up with from the raw screenshot. I reckon it's much more
interesting now, and doesn't even look like a traditional computer-art picture.
 [4] To display your glitch art masterpiece on the internet you'll need to
export the image as a GIF or JPEG. You might have to rescale the image
to make it small enough to fit on the screen too. Here are my thoughts
on image rescaling: By their nature, glitch images are pixellated with sharp
boundaries between colours, and this should be preserved. So, in Photoshop,
I always select the "Nearest Neighbour" resampling option in preference
to "Bilinear" or "Bicubic" interpolation. This stops edges getting smudged.
OK, so having got your image at a sensible size, I recommend exporting it
as a GIF, because this is a lossless format, and so exactly preserves the
sharp colour boundaries. Sometimes however it's impossible to get a small
enough file size from GIF, expecially with highly intricate images, and
then you'll need to export as JPEG. Export at as high a quality as possible,
to minimise JPEG compression artifacts. There are many shareware/freeware
GIF and JPEG optimisation utilities around, so I won't bother recommending
the ones I use.